A 101 Guide to Creating A Cross-Browser Favicon
A favicon is that tiny little icon displayed in the top left hand of your browser tab. Take a look now, the favicon for our site is the Tsohost mark. In the grand scheme of website design a favicon is just a tiny niggle, but it shouldn’t be overlooked. Displaying a favicon both helps your branding efforts and lets users easily navigate their way back to your site amongst a crowd of tabs.
Creating a Cross-Browser Compatible Favicon:
As with all online creations, you'll need to consider how your favicon is rendered by different browsers. Whilst the majority of browsers will render a 16 x 16 px .ICO file, this low resolution won’t do your favicon any favours if it’s viewed on a retina screen.
Up-to-date web browsers can render higher quality images, unfortunately for us they don't all follow the same size and format standards. You’ll have to upload multiple sizes and formats of your image to ensure you have every browser and port view covered:
- Internet Explorer 7.0 and lower: 16x16 .ICO images
- Internet Explorer 8.0 +: 16x16, 32x32 and 48x48 .ICO images
- Windows 8 (with Internet Explorer 11): 16x16 .ICO, 70x70, 150x150, 310x310 and 310x15 .PNG images
- Windows 8 (with Internet Explorer 10): 144X144 .PNG image
- Safari: Prefers 32x32 .PNG
- Firefox: Prefers 16X16 .PNG
- Opera: Prefers 16x16, 32x32, 48x48 or 64x64 .ICO images but also accepts them in .PNG
- Chrome for Mac: Uses 32x32 .ICO image
- Chrome for Windows: Uses a 16x16 .PNG image
If Firefox or Safari can't find their prefered favicon image then it'll choose the favicon that's placed last in the < head > of your webpage. Chrome on the other hand will choose the favicon that's placed first in your directory. Only after that will these browsers then settle for using the 16x16 .ICO image.
Sounds complicated! Thankfully you don't need to waste hours resizing and formatting your favicon for different browsers, free online tools like Real Favicon Generator do all the hard work for you. After uploading your image, this tool automatically generates all the icons and HTML code needed for a cross-browser and device friendly favicon.
Uploading Your Favicon:
Root Directory
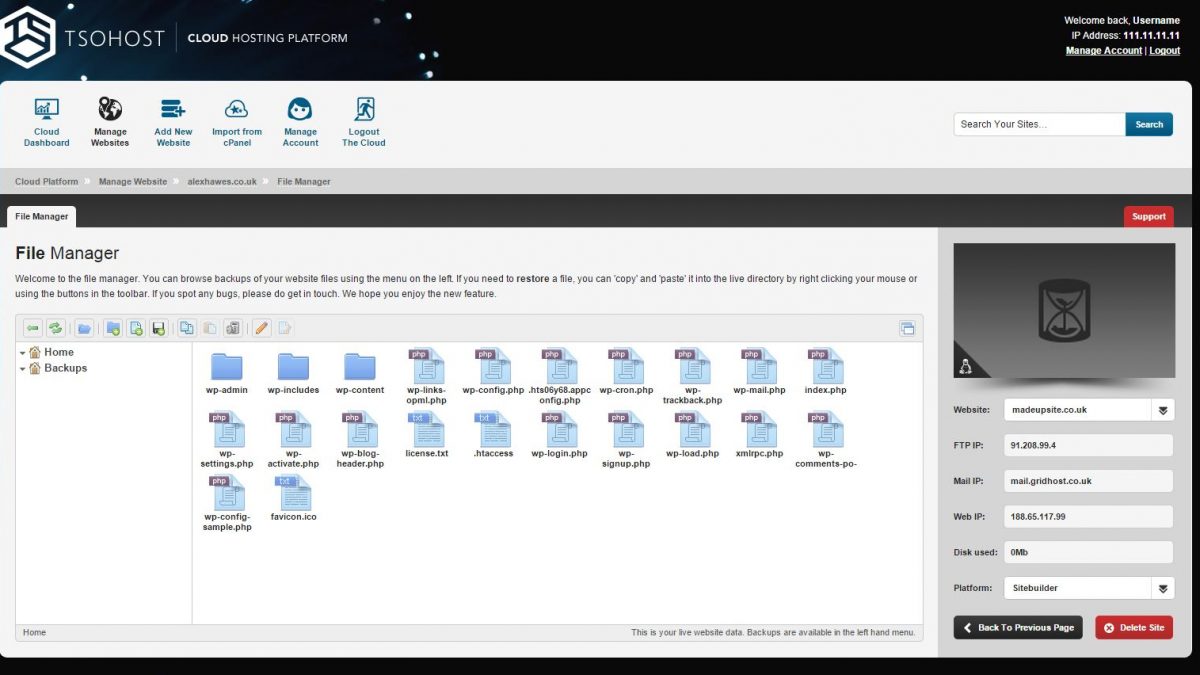
Now that you've got all of your favicon icons, you'll need to add them to your site, by placing them into your root directory. This is really easy if your site is hosted on our Cloud; you simply need to go to "File Manager" in your Control Panel and upload the files to the first file level which is presented to you.
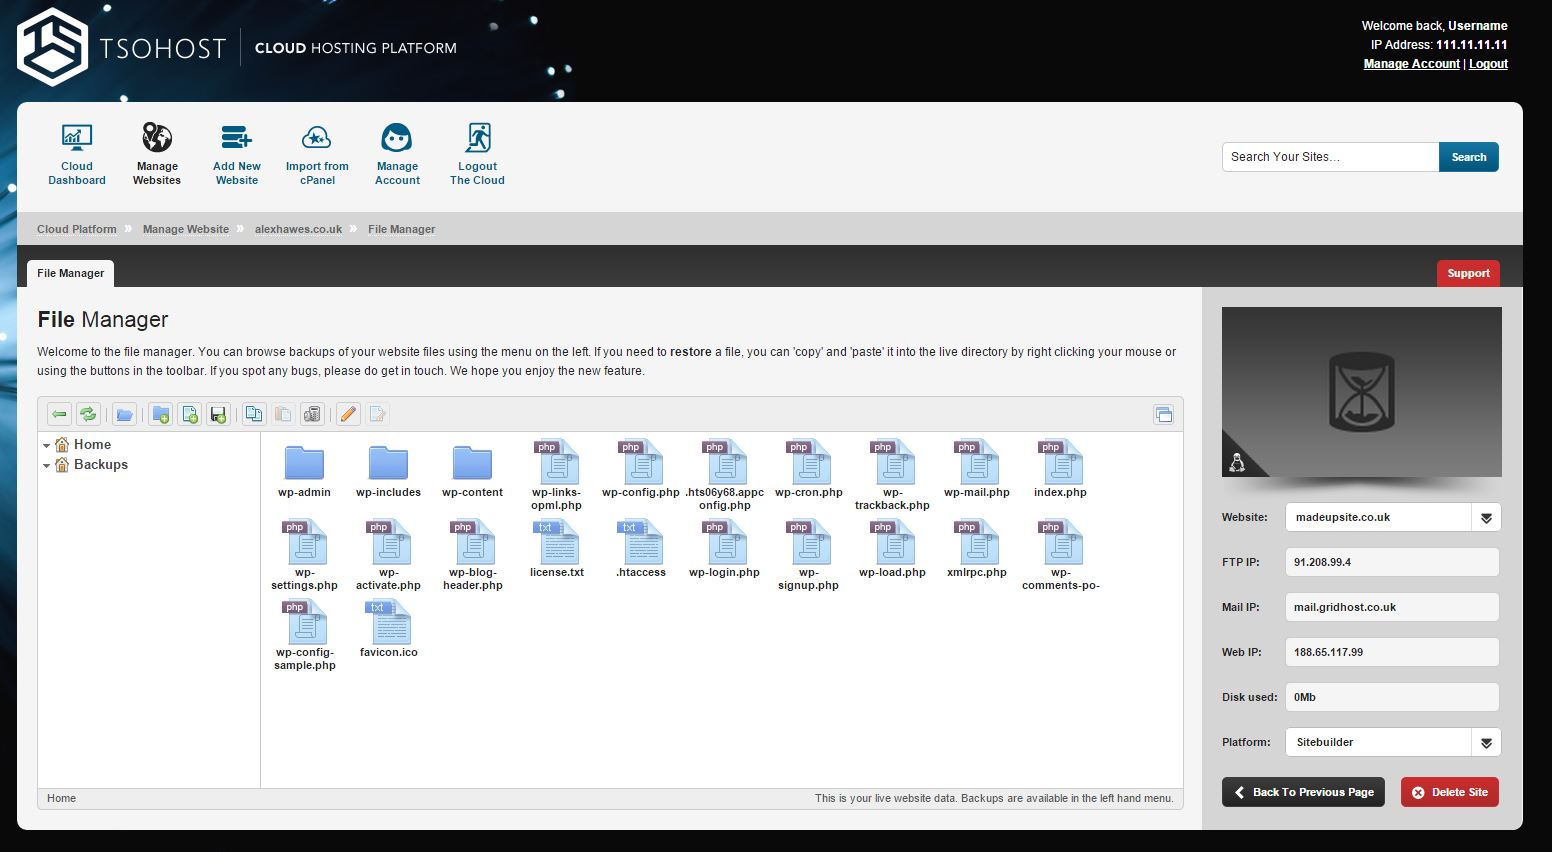
Once the upload is complete your favicon will be live on your site straight away; you can even test this by typing "/favicon.ico" onto the end of your domain name.
Setting up Multiple Favicons
You aren't restricted to one favicon per domain: to set a different favicon to a specific subdomain simply upload the icon (in all its formats) to the corresponding directory, as this is the first place that the browser looks for the favicon when the page is loaded.
Declare Your Favicon
Placing your favicon in one of the two locations above doesn't necessarily mean that it'll be rendered by an updated browser. To be absolutely certain, you'll need to specifically declare the favicon's presence, by adding these two basic lines of code to the < head > of each web page:
< link rel="icon" href="favicon.ico" type="image/x-icon" >
< link rel="shortcut icon" href="favicon.ico" type="image/x-icon" >
Coding your WordPress site
Favicon Generator has a free WordPress plugin, which runs the whole process of uploading and setting your favicons for you; great if you're completely new to coding. Adding a favicon manually to your WordPress site is a little more complex. There are two stages: firstly you'll need to delete your old favicon in your current theme's main folder, secondly you'll have to upload your favicon to both your root directory and your Media Library using an FTP client like Filezilla. Some outdated browsers still won't show your favicon unless you then edit your page's header, but this is super easy to do:
- Go to your WordPress Admin Panel
- Click "Appearance" > "Editor", then under your theme's drop-down find "Header"
- Below the HTML tag, add < link rel="shortcut icon" href=" /favicon.ico" />
- Hit "Update"
Bingo - your favicon is now added to your site, however you may have to log in and out of your admin panel before you can view it. Annoyingly, whenever you add a brand new theme to your site then you'll have to repeat this process, or else the favicon will stop appearing.
Do you have any tips for making your favicon cross-browser compatible? We'd love to hear from you in the comments below.
,


